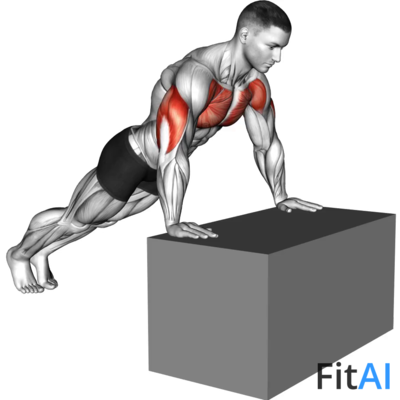
One Arm Push-Up Supported Wall
Expert Advice
Focus on maintaining a straight line from your head to your heels and avoid twisting your torso during the exercise.
How-to-do Steps
- Stand facing a wall, extending one arm out to touch the wall at chest level.
- Lean forward until your body is at a slight angle, keeping your feet firmly planted.
- Bend your elbow to lower your chest towards the wall.
- Push back to the starting position using the strength of your arm and chest.
- Repeat for the desired number of repetitions before switching arms.
Track One Arm Push-Up Supported Wall in FitAI
Log your sets, reps, and weights automatically. Get AI-powered progressive overload recommendations and form feedback — personalized to your training history.
Muscles Worked
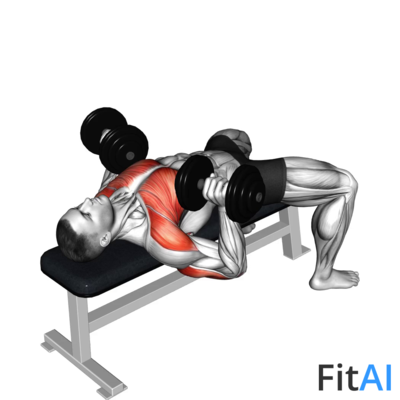
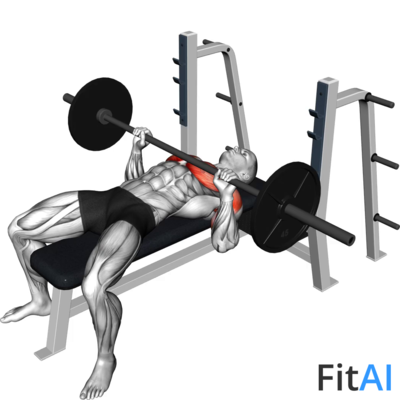
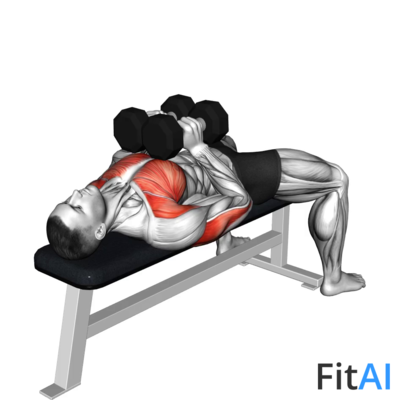
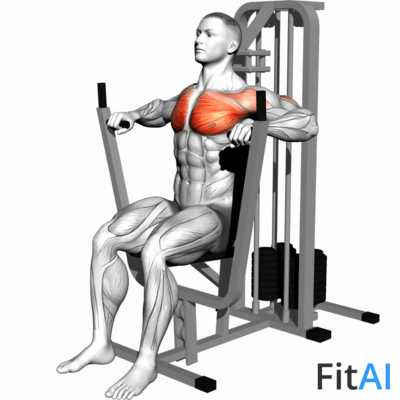
One Arm Push-Up Supported Wall primarily targets the Chest, with Strength mechanics using Body Weight. Understanding muscle activation patterns helps you focus on proper engagement and maximize training effectiveness.
Primary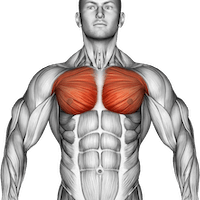
Chest60%
Secondary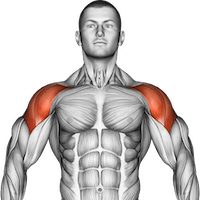
Shoulders20%
Triceps20%
Equipment Body Weight
Exercise Type
Strength
Sets & Reps Guidance
Beginner2 x 10-12
Intermediate3 x 8-10
Advanced4 x 6-8
Frequently Asked Questions
What muscles does One Arm Push-Up Supported Wall work?
One Arm Push-Up Supported Wall primarily targets the Chest. Secondary muscles involved include Shoulders, Triceps. It is classified as a Strength exercise performed with Body Weight.
How many sets and reps should I do for One Arm Push-Up Supported Wall?
For beginners, start with 2 sets of 10-12. Intermediate lifters can do 3 sets of 8-10. Advanced athletes can push to 4 sets of 6-8. Adjust based on your goals and recovery capacity.
Is One Arm Push-Up Supported Wall suitable for beginners?
One Arm Push-Up Supported Wall is rated as an advanced exercise and is best suited for experienced lifters. Beginners should build foundational strength with simpler movements first before attempting this exercise.